
Asphalt Seal Coating
Protect your asphalt from weather, wear, and oil stains with expert seal-coating for longer lifespan and improved appearance.
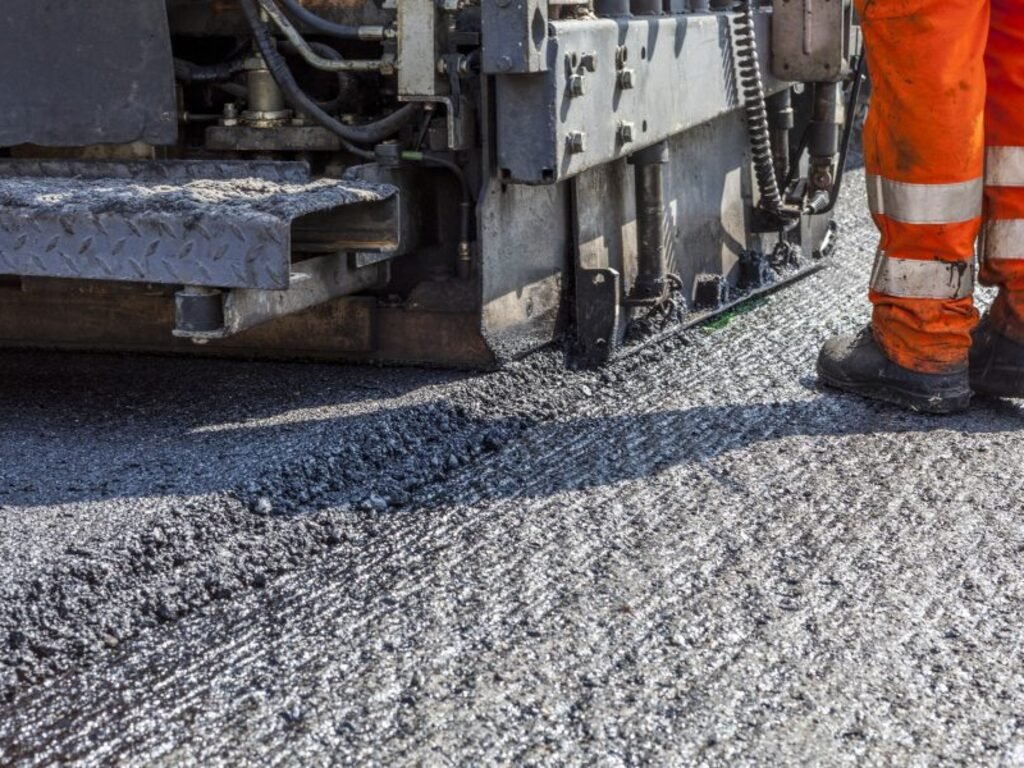
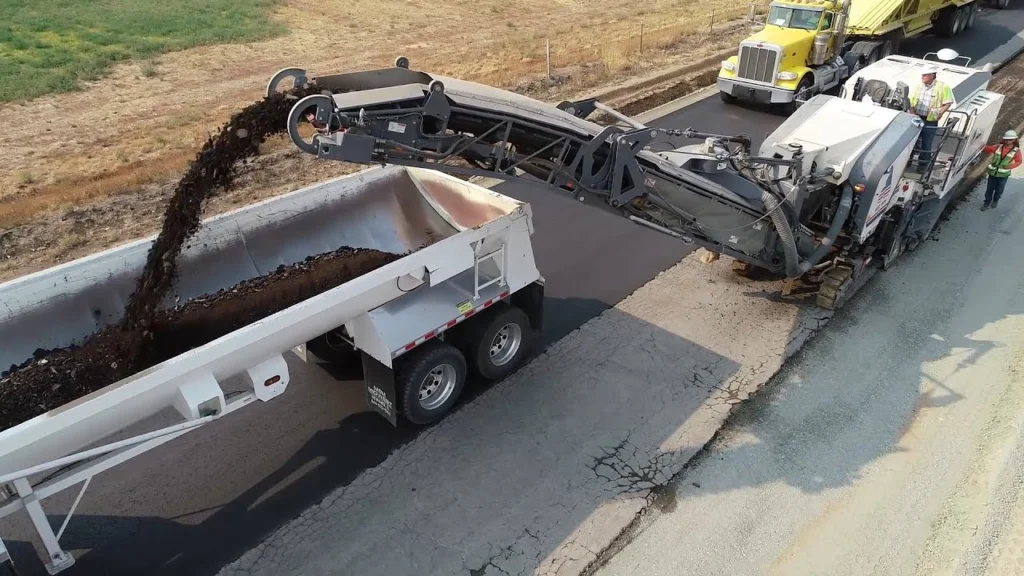
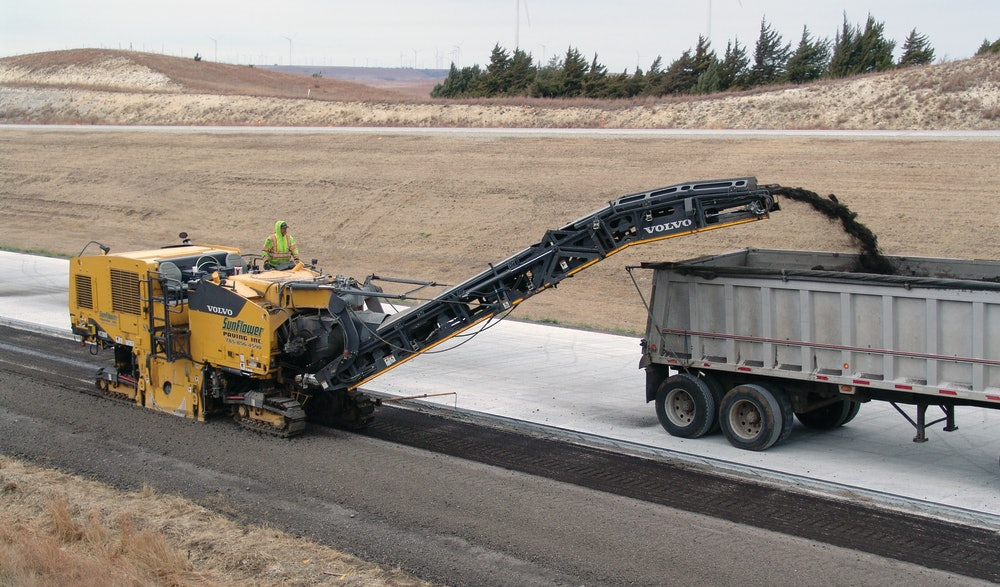
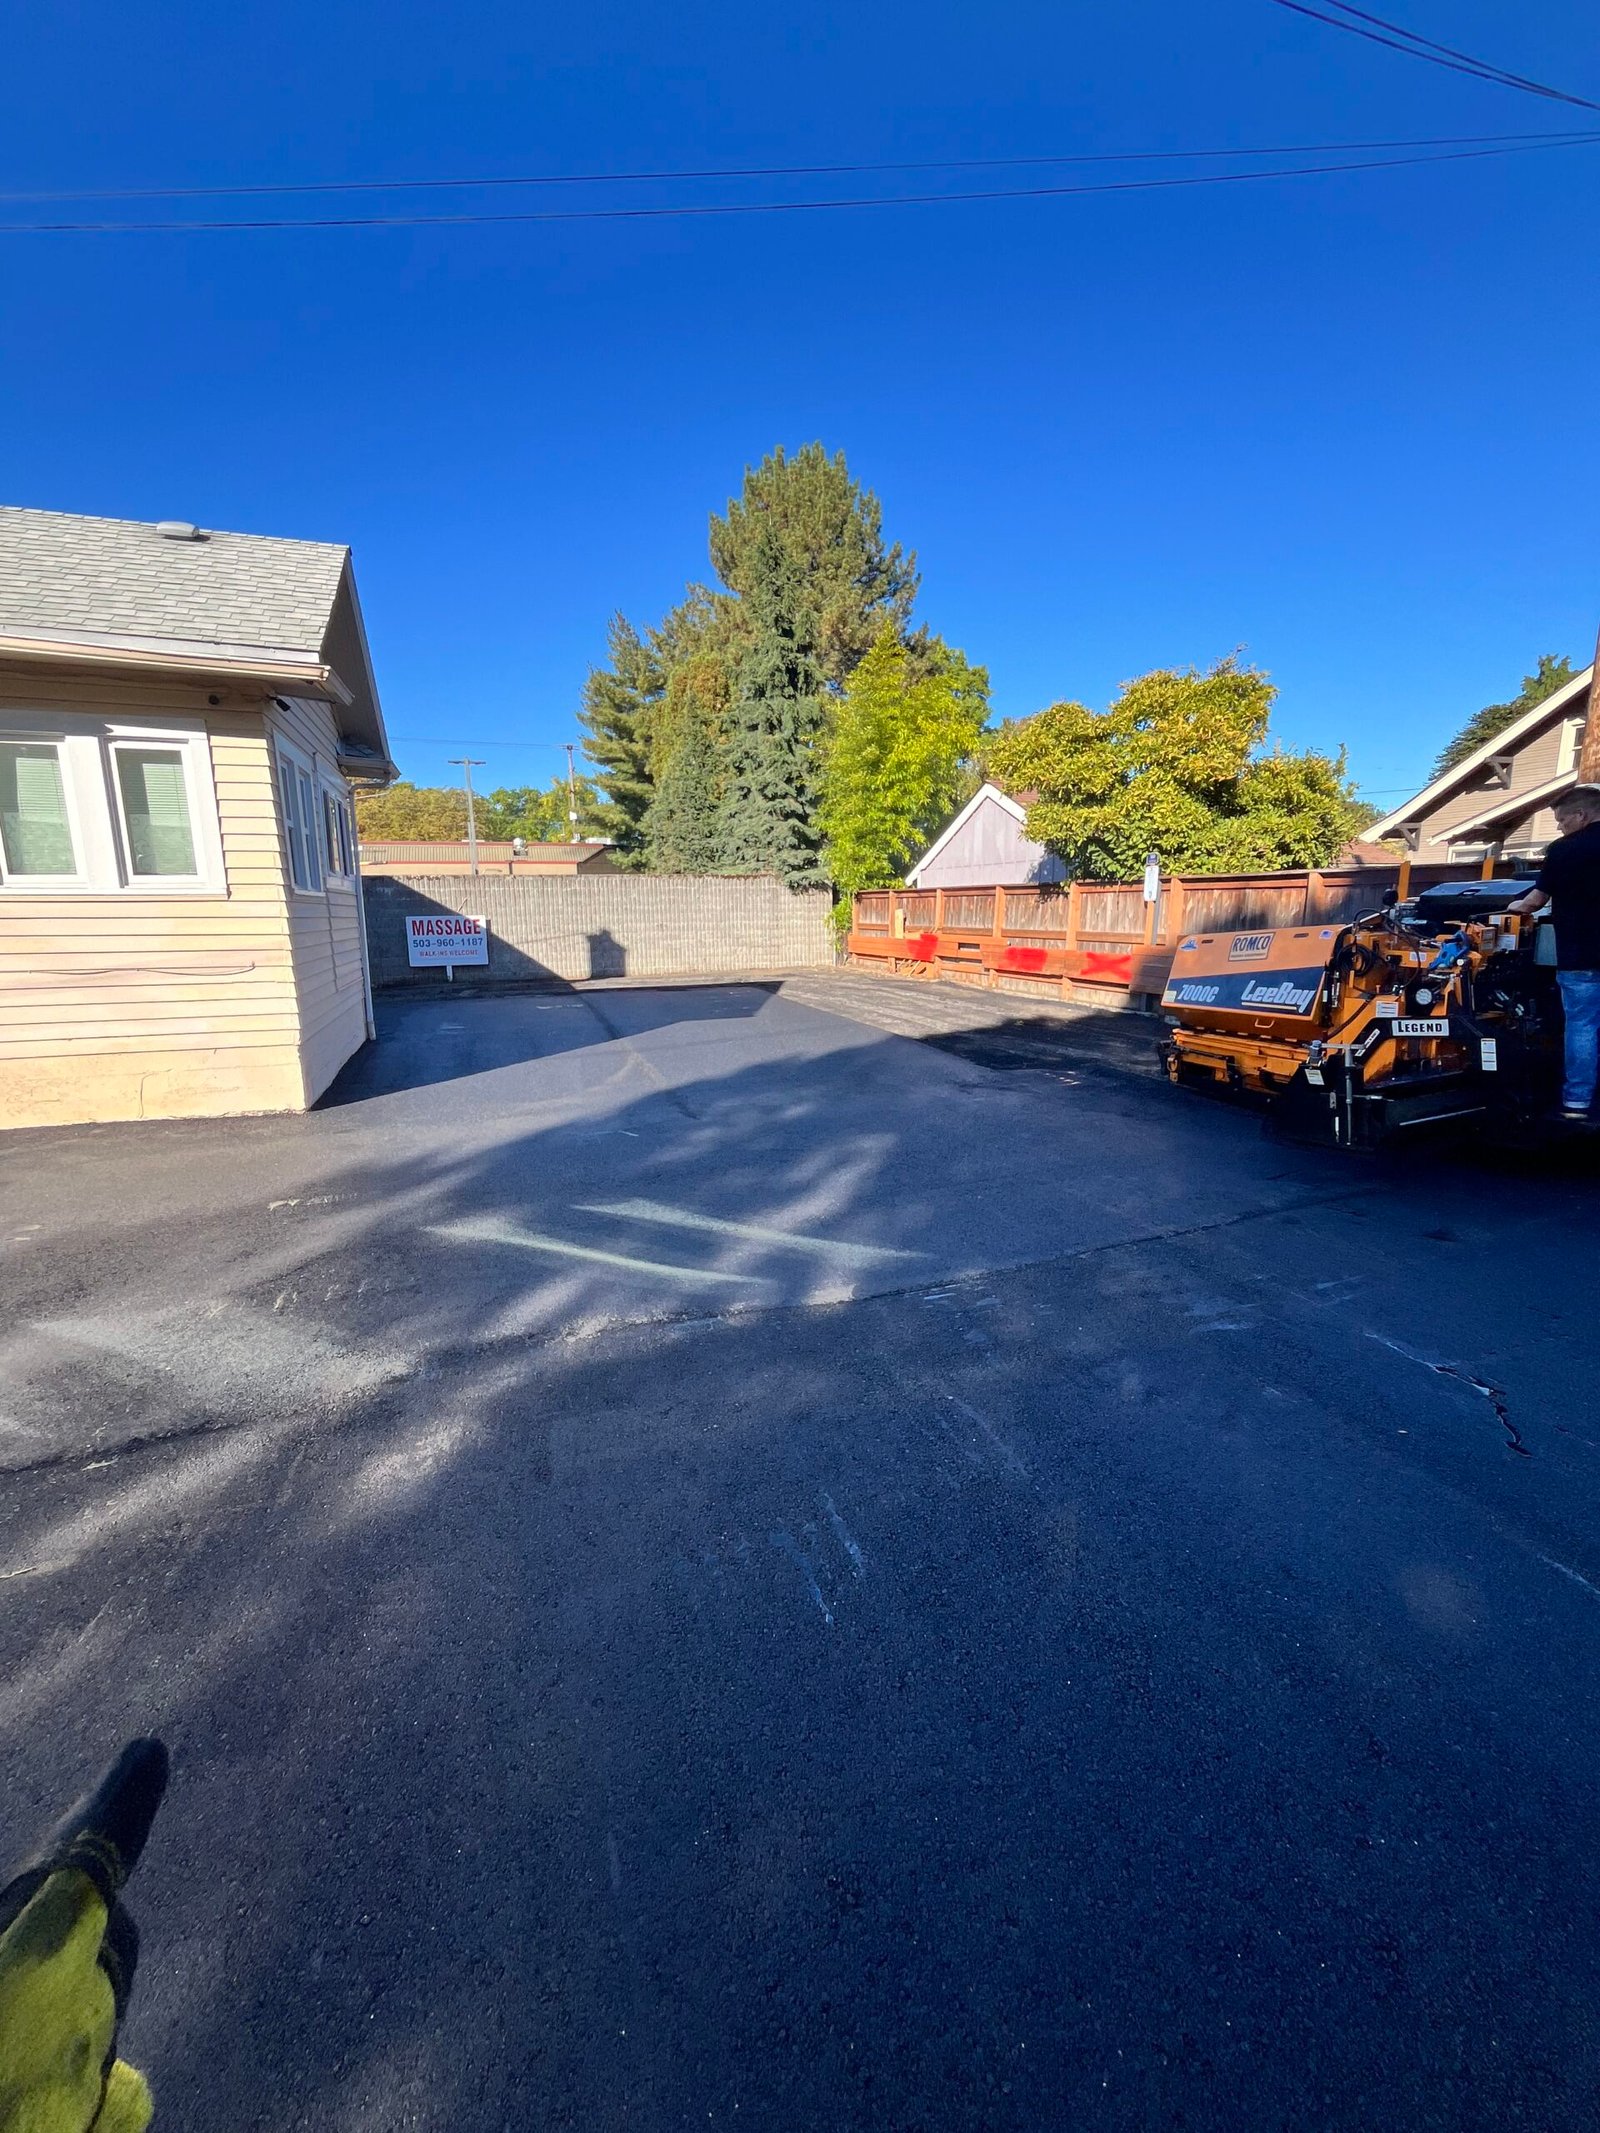
Asphalt Milling
We remove damaged surface layers precisely and prepare your pavement for rejuvenation or full replacement.
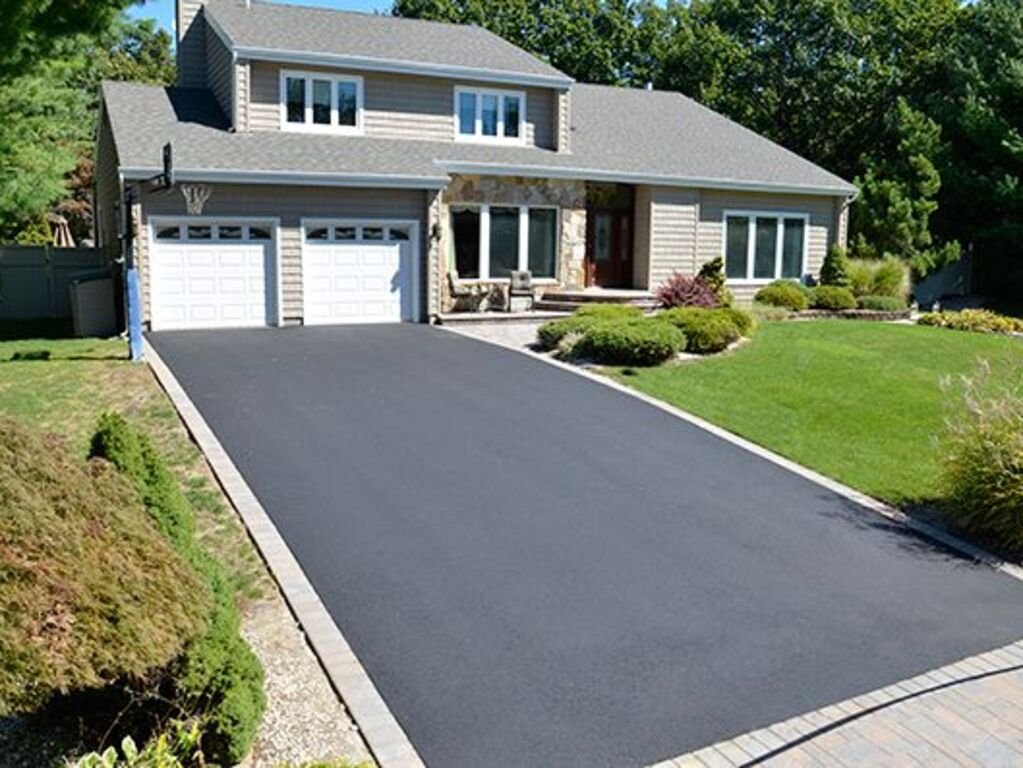
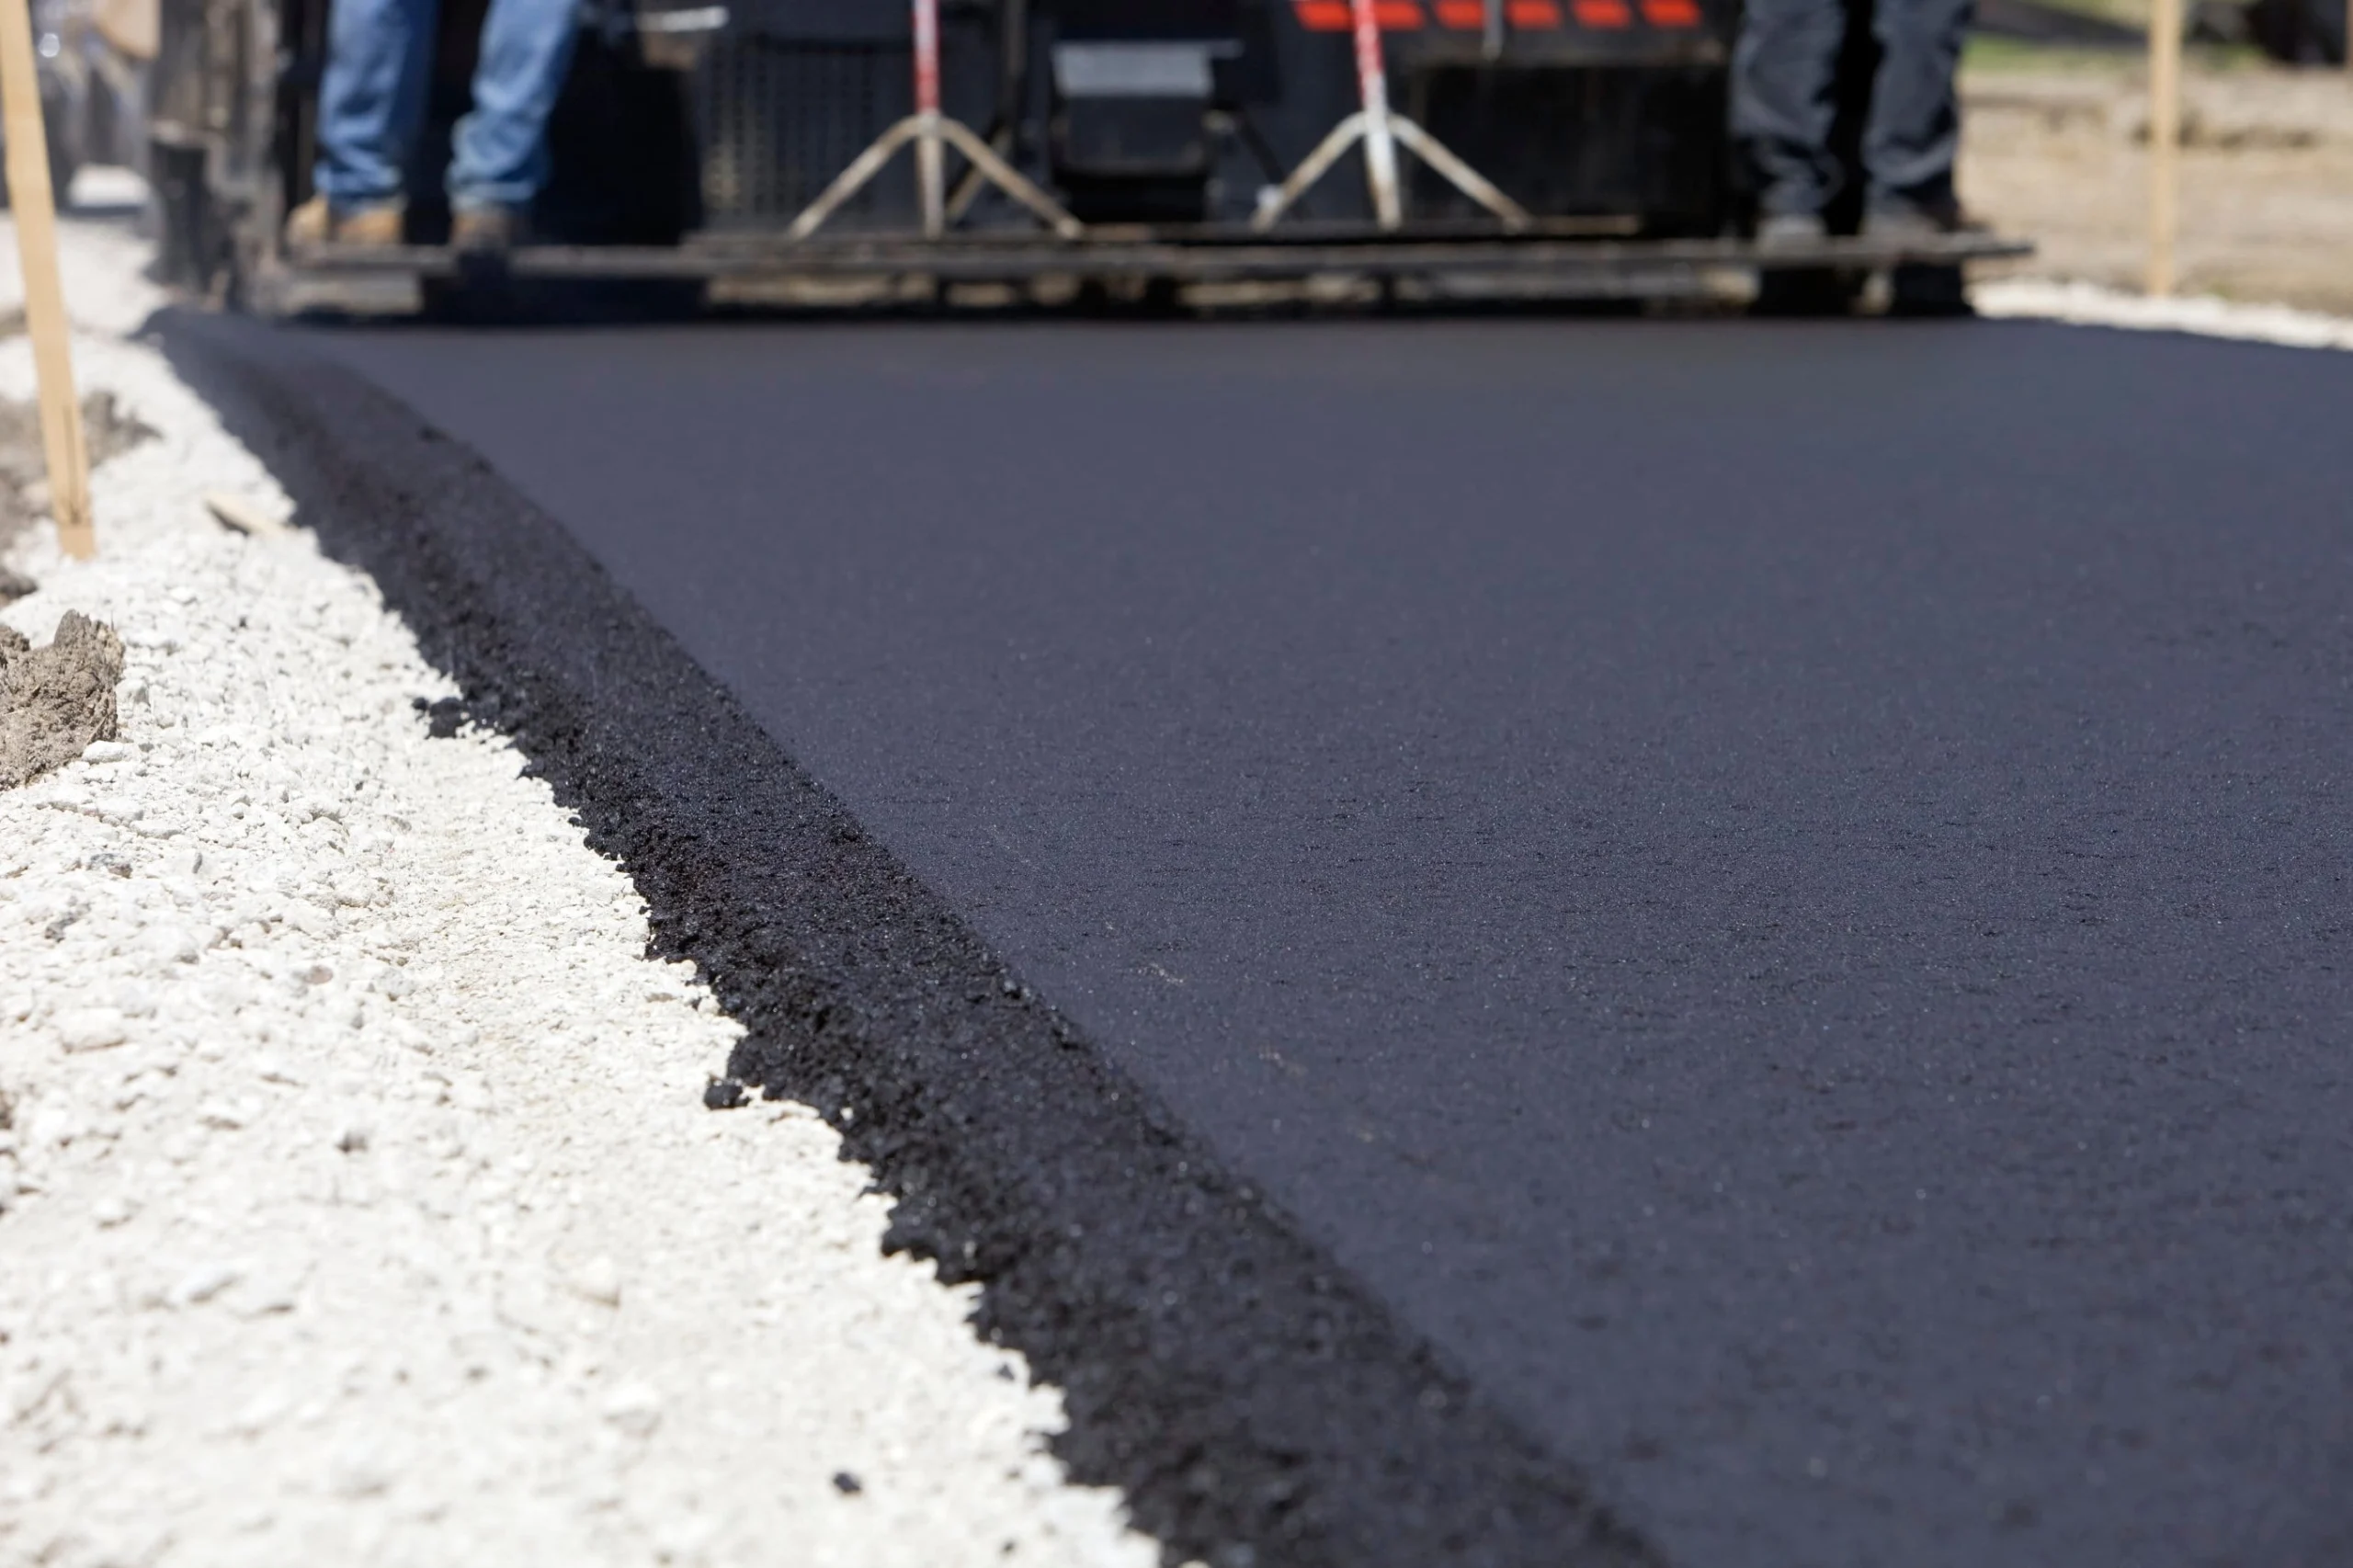
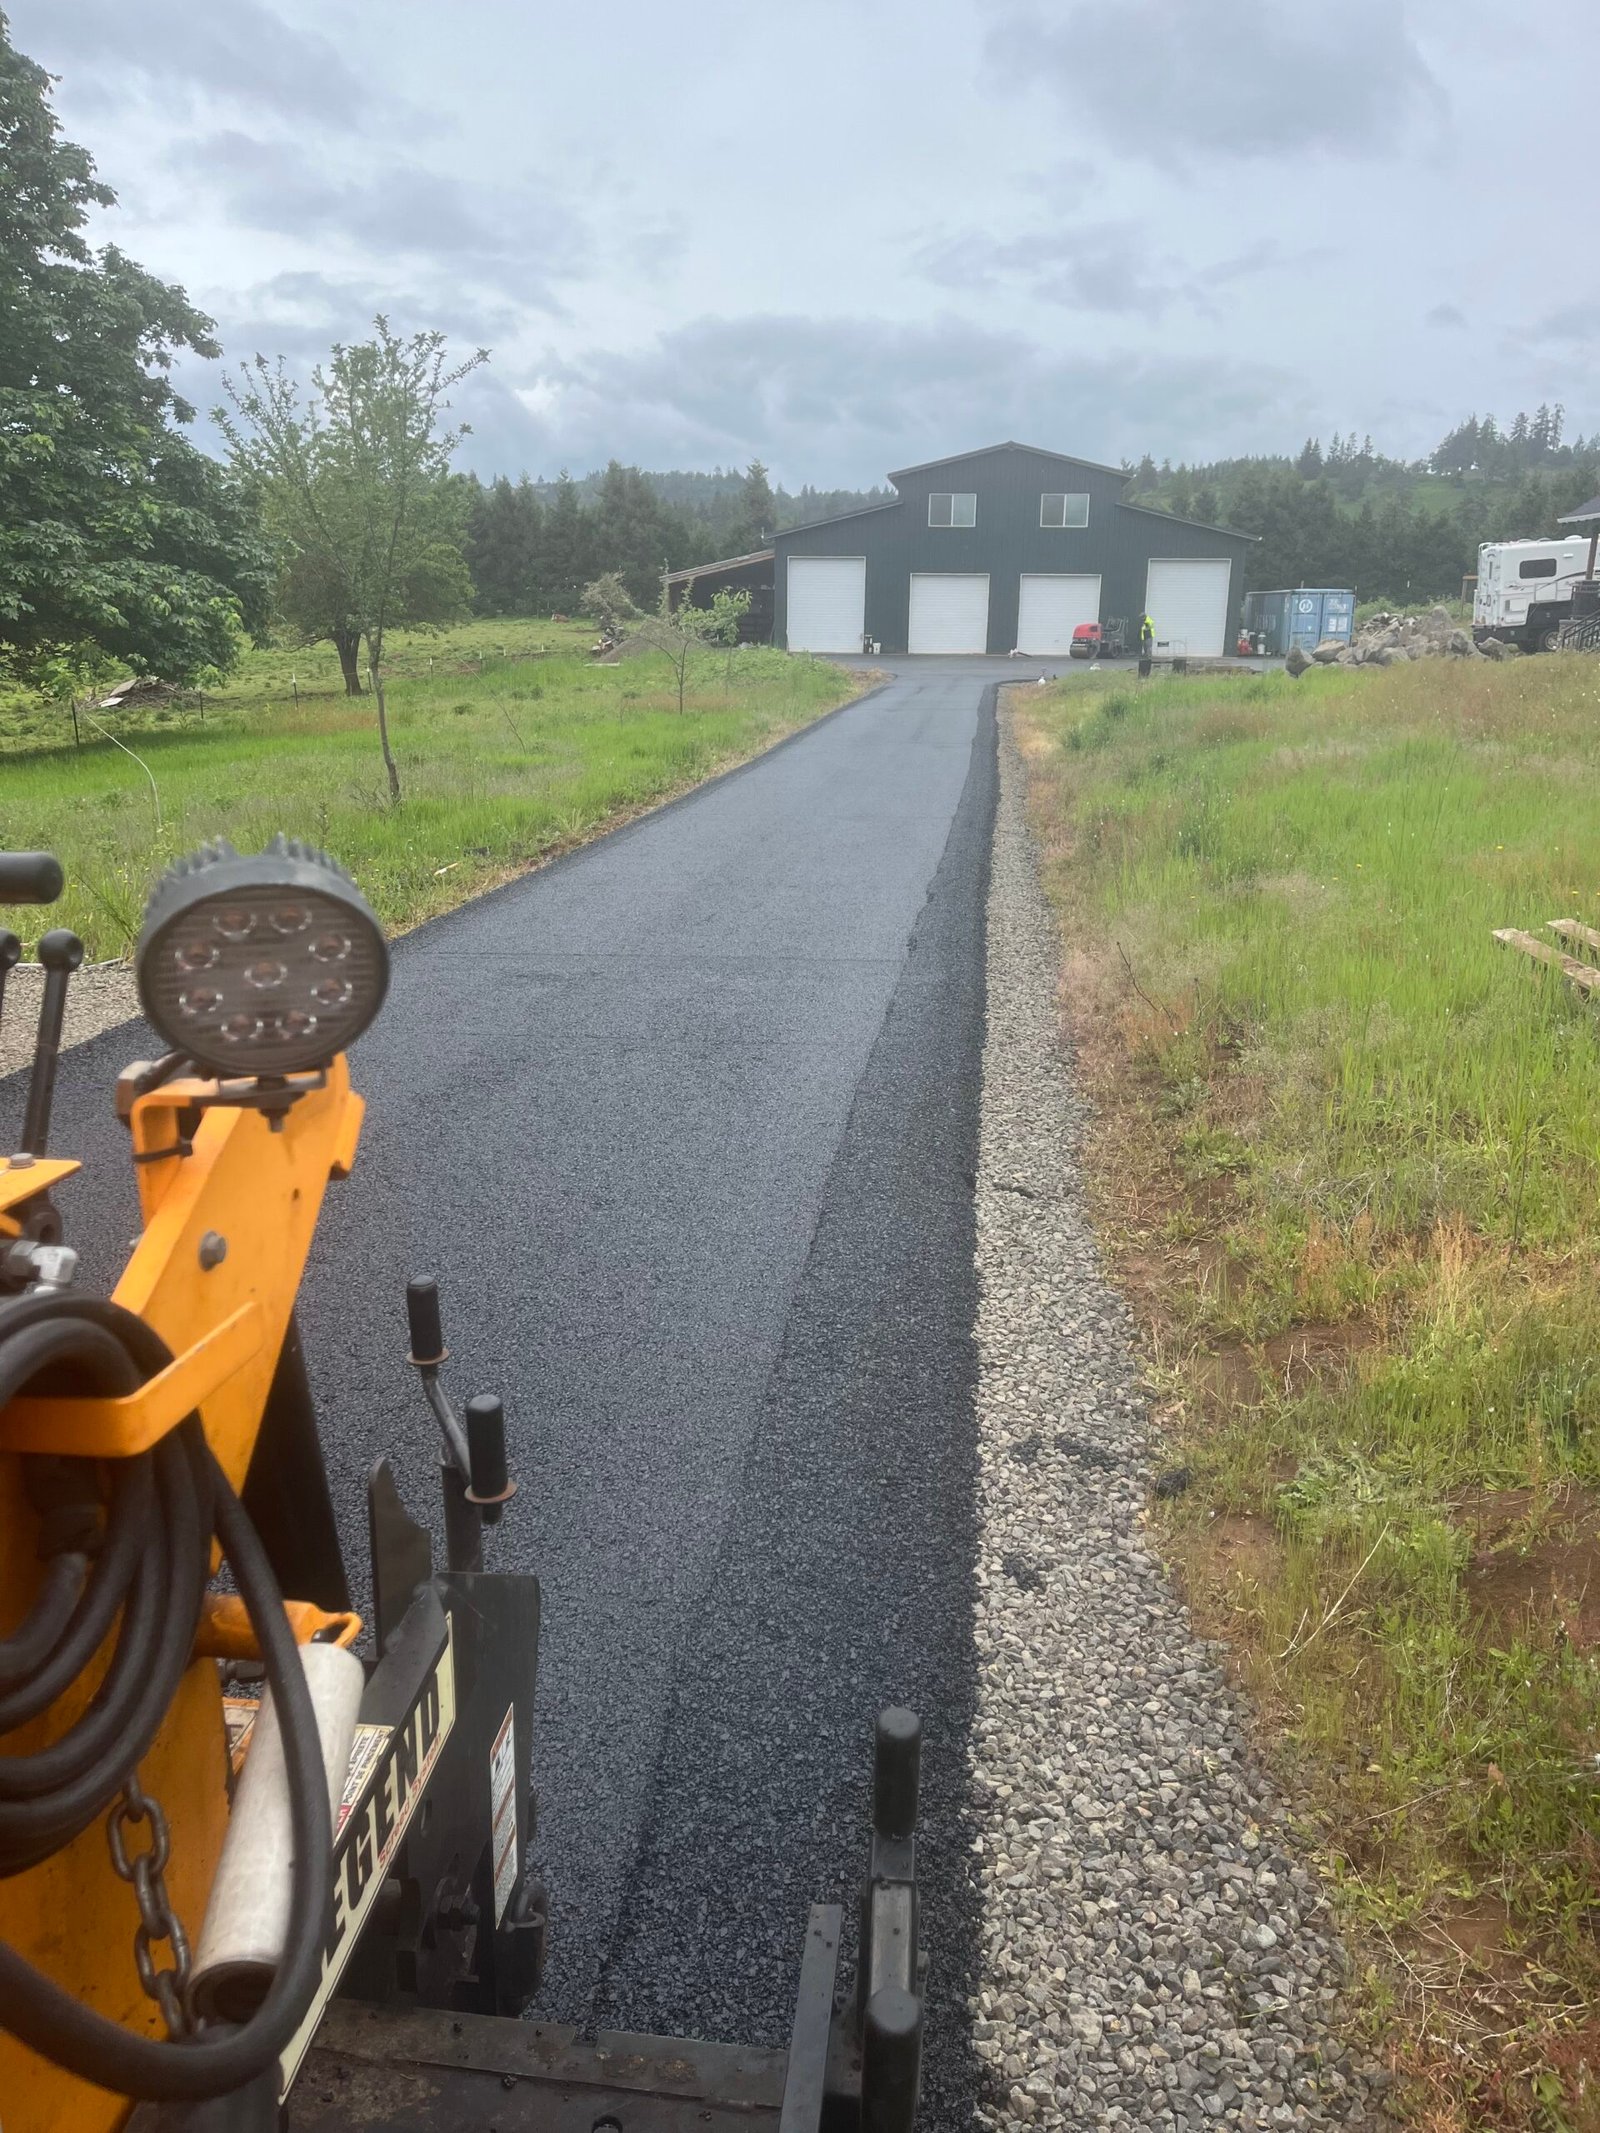
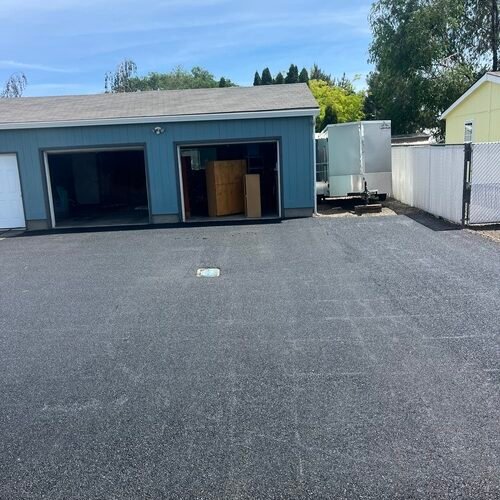
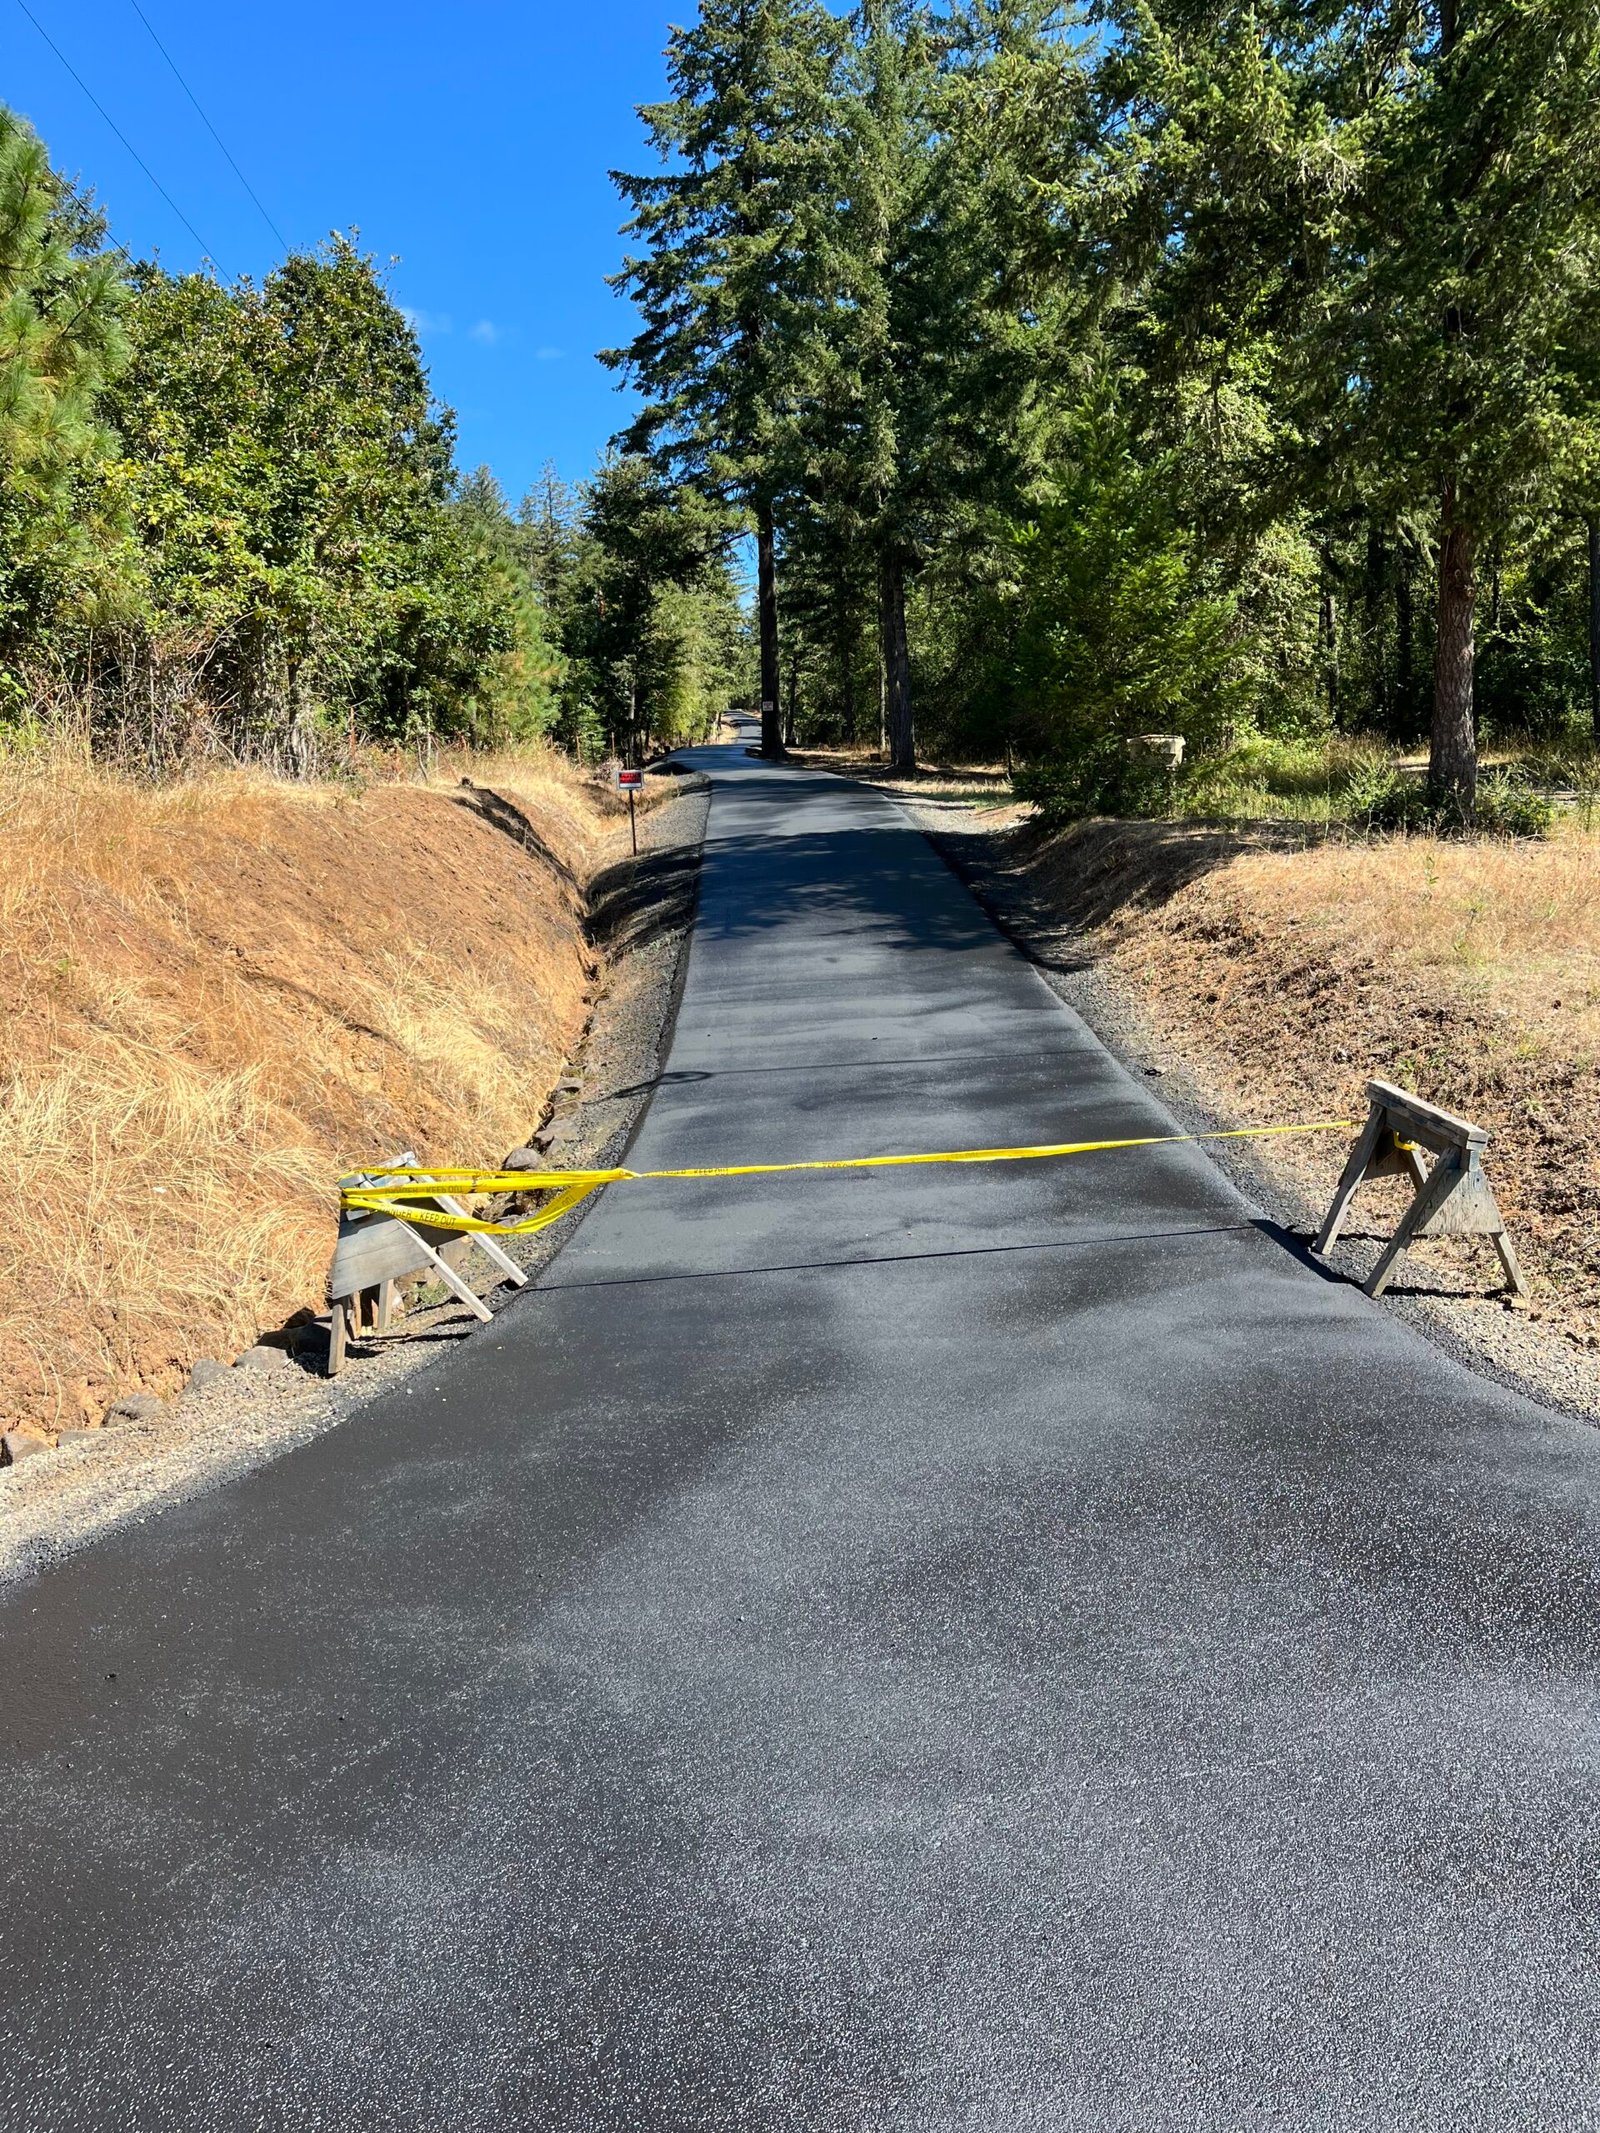
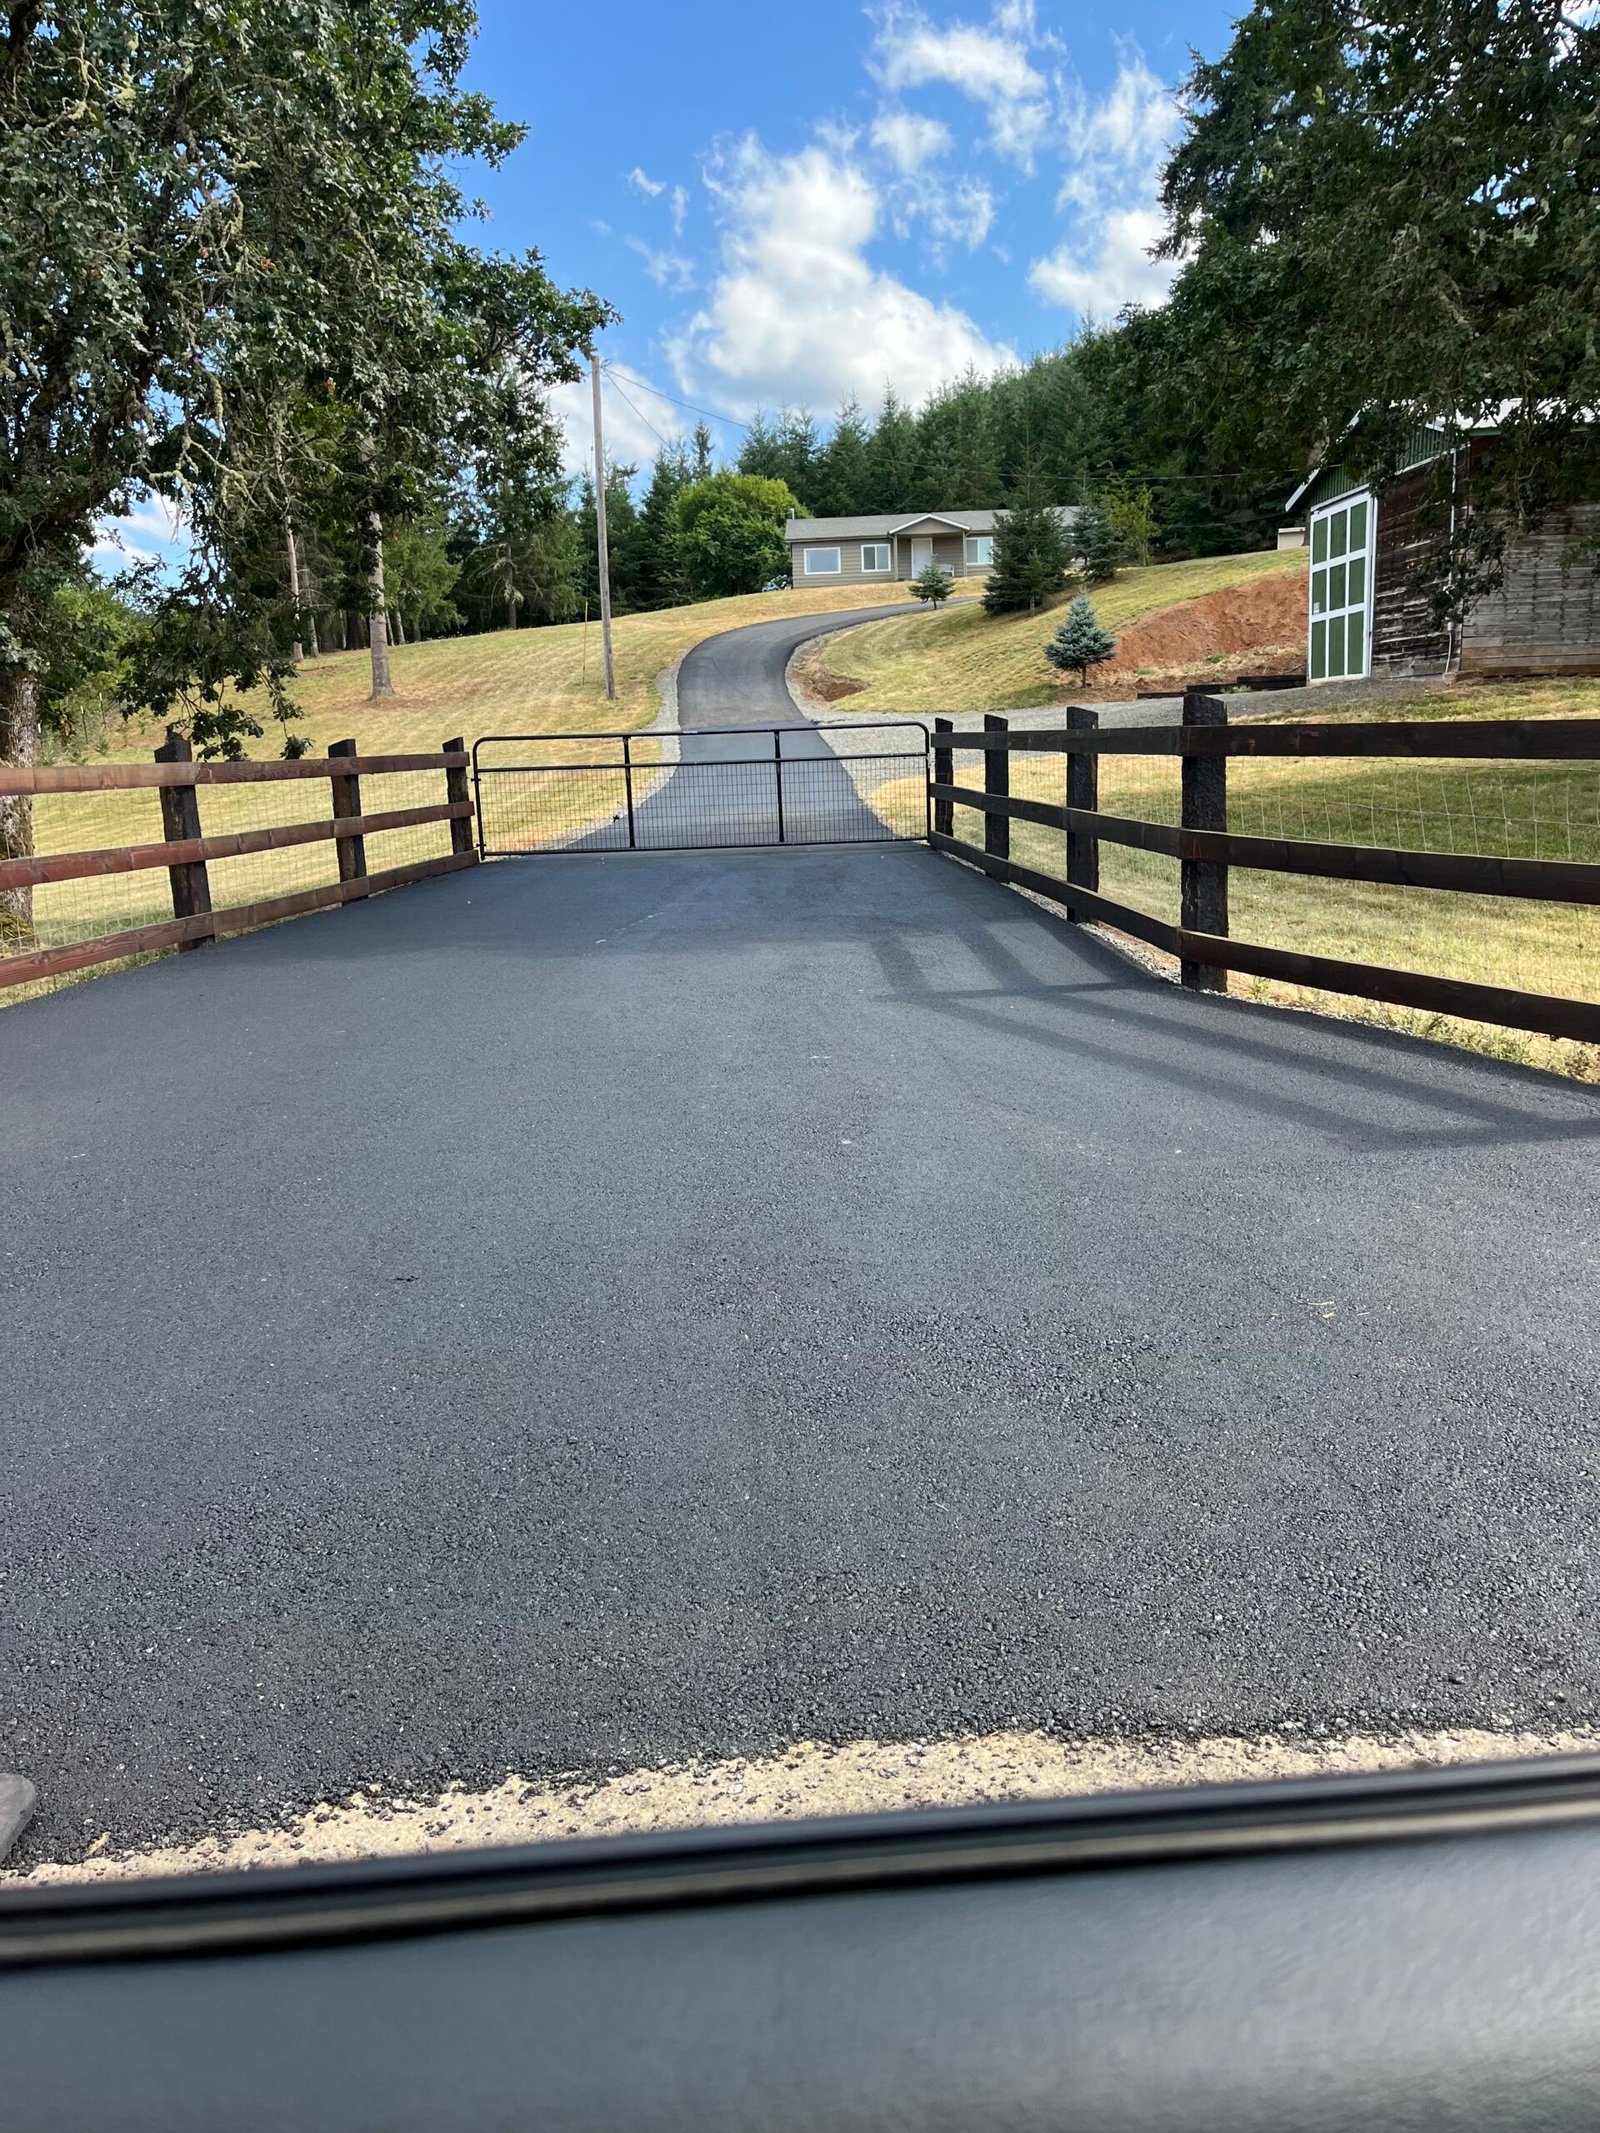
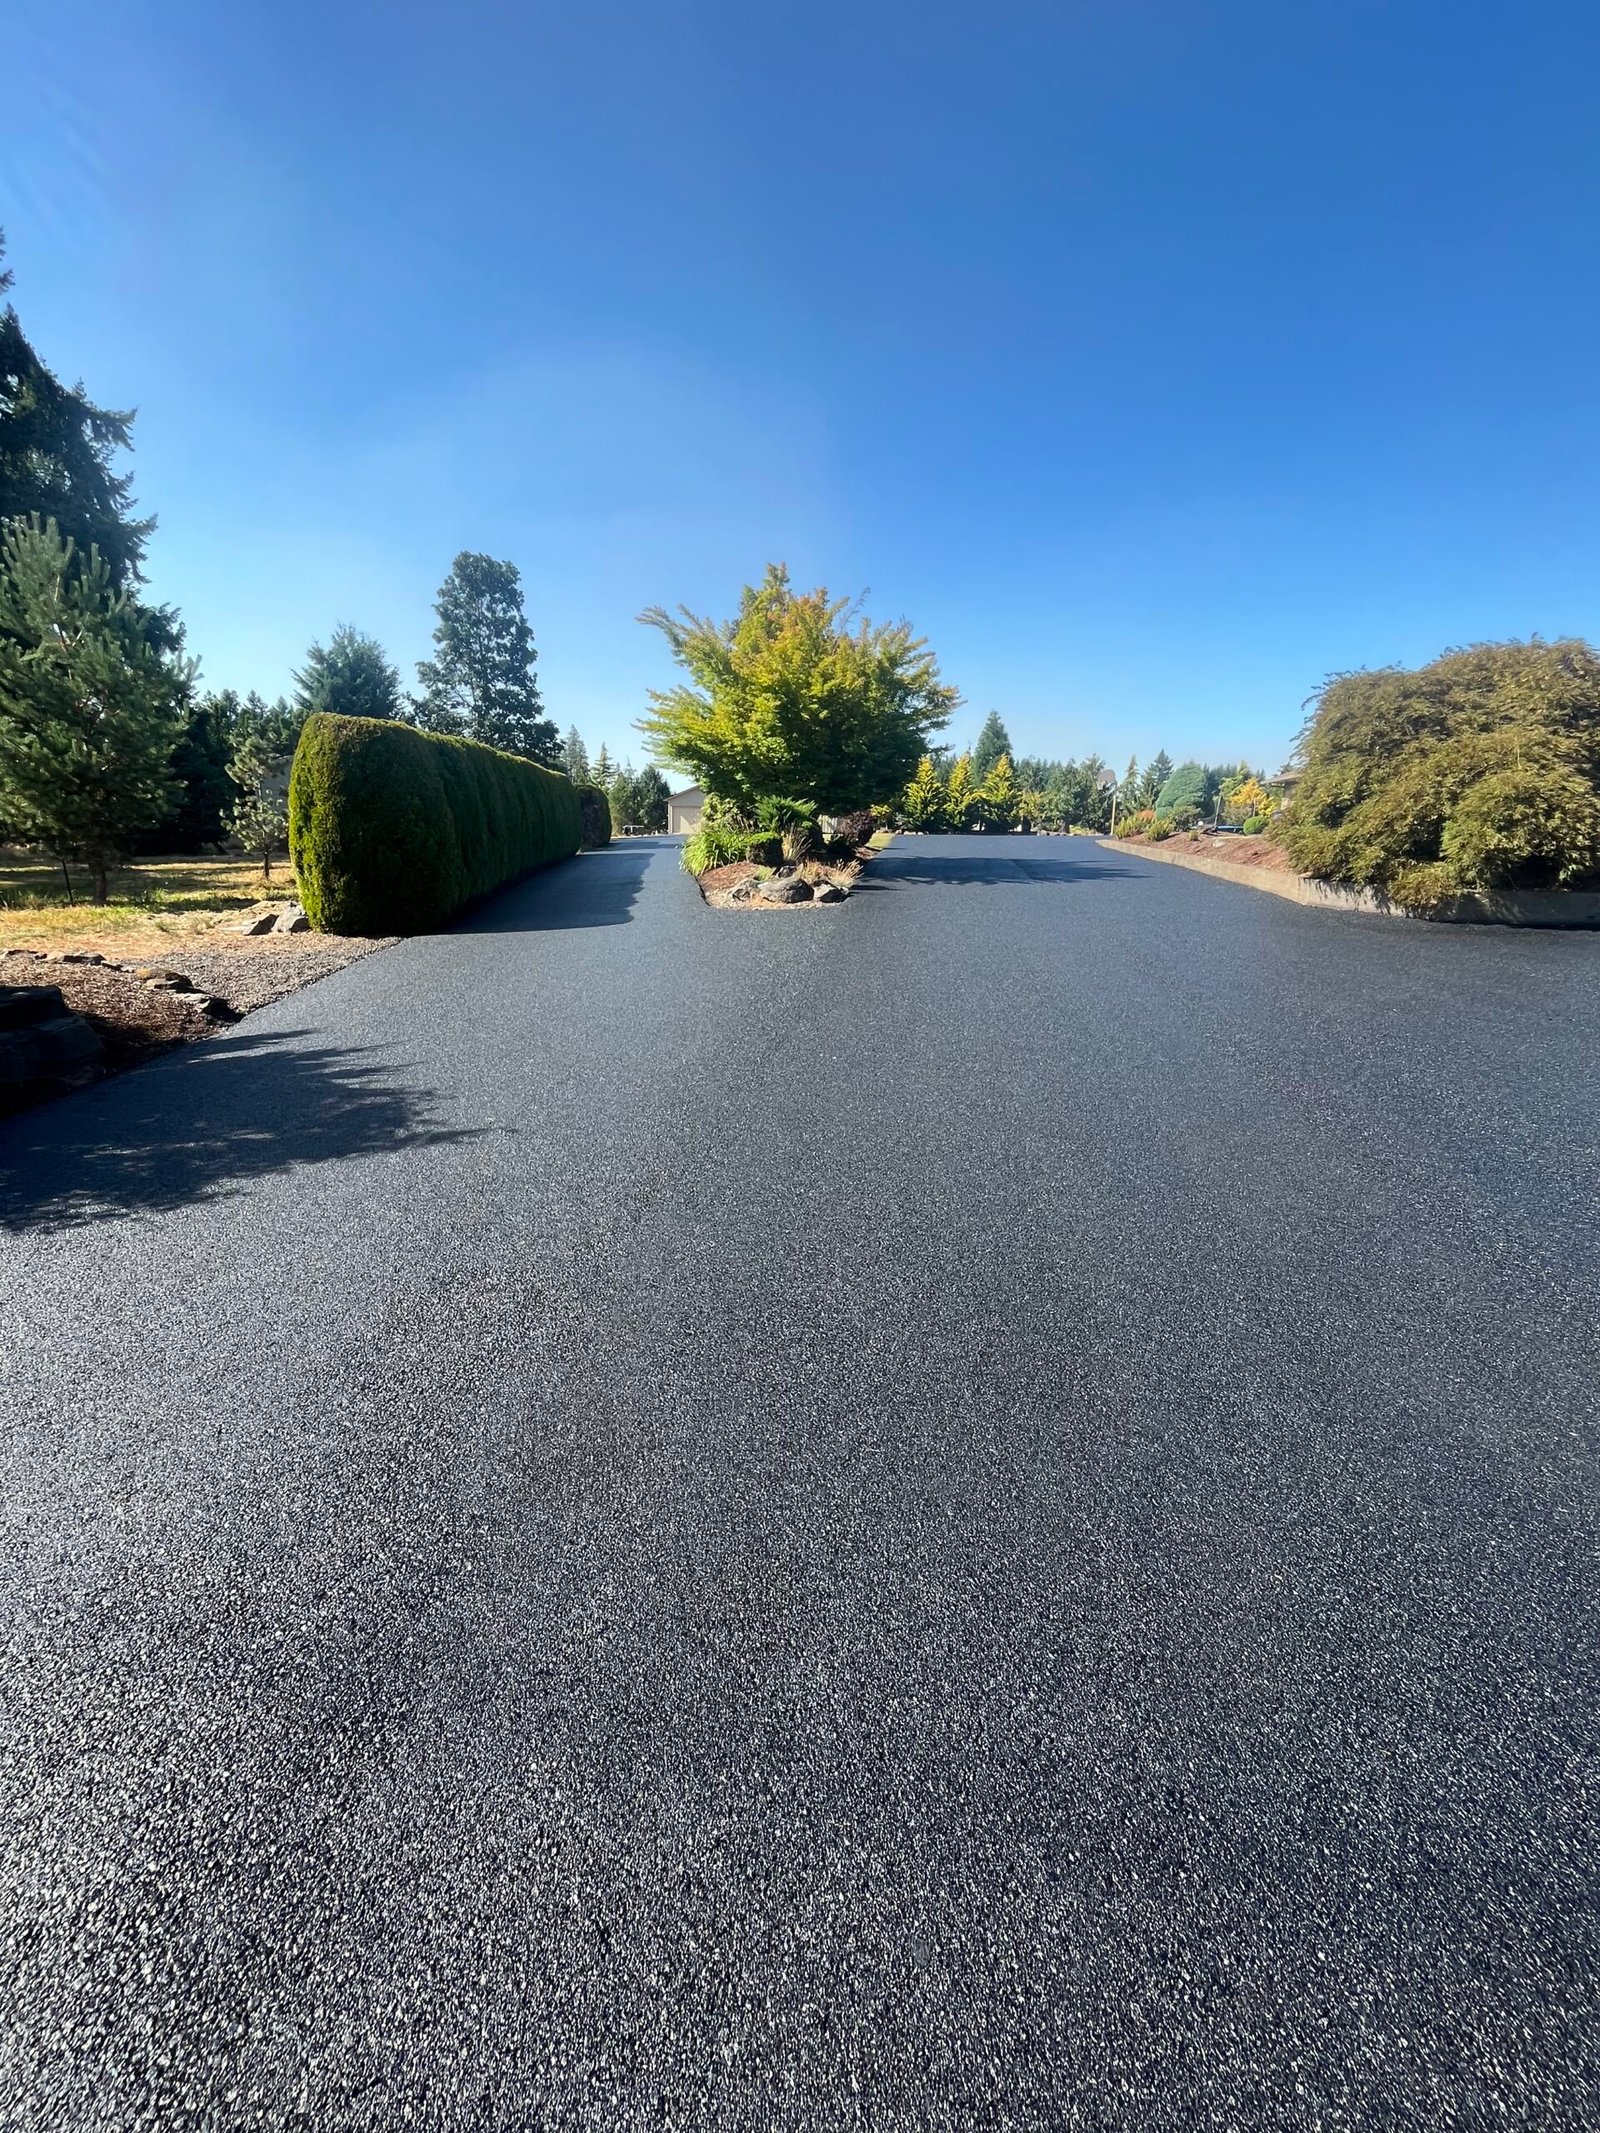
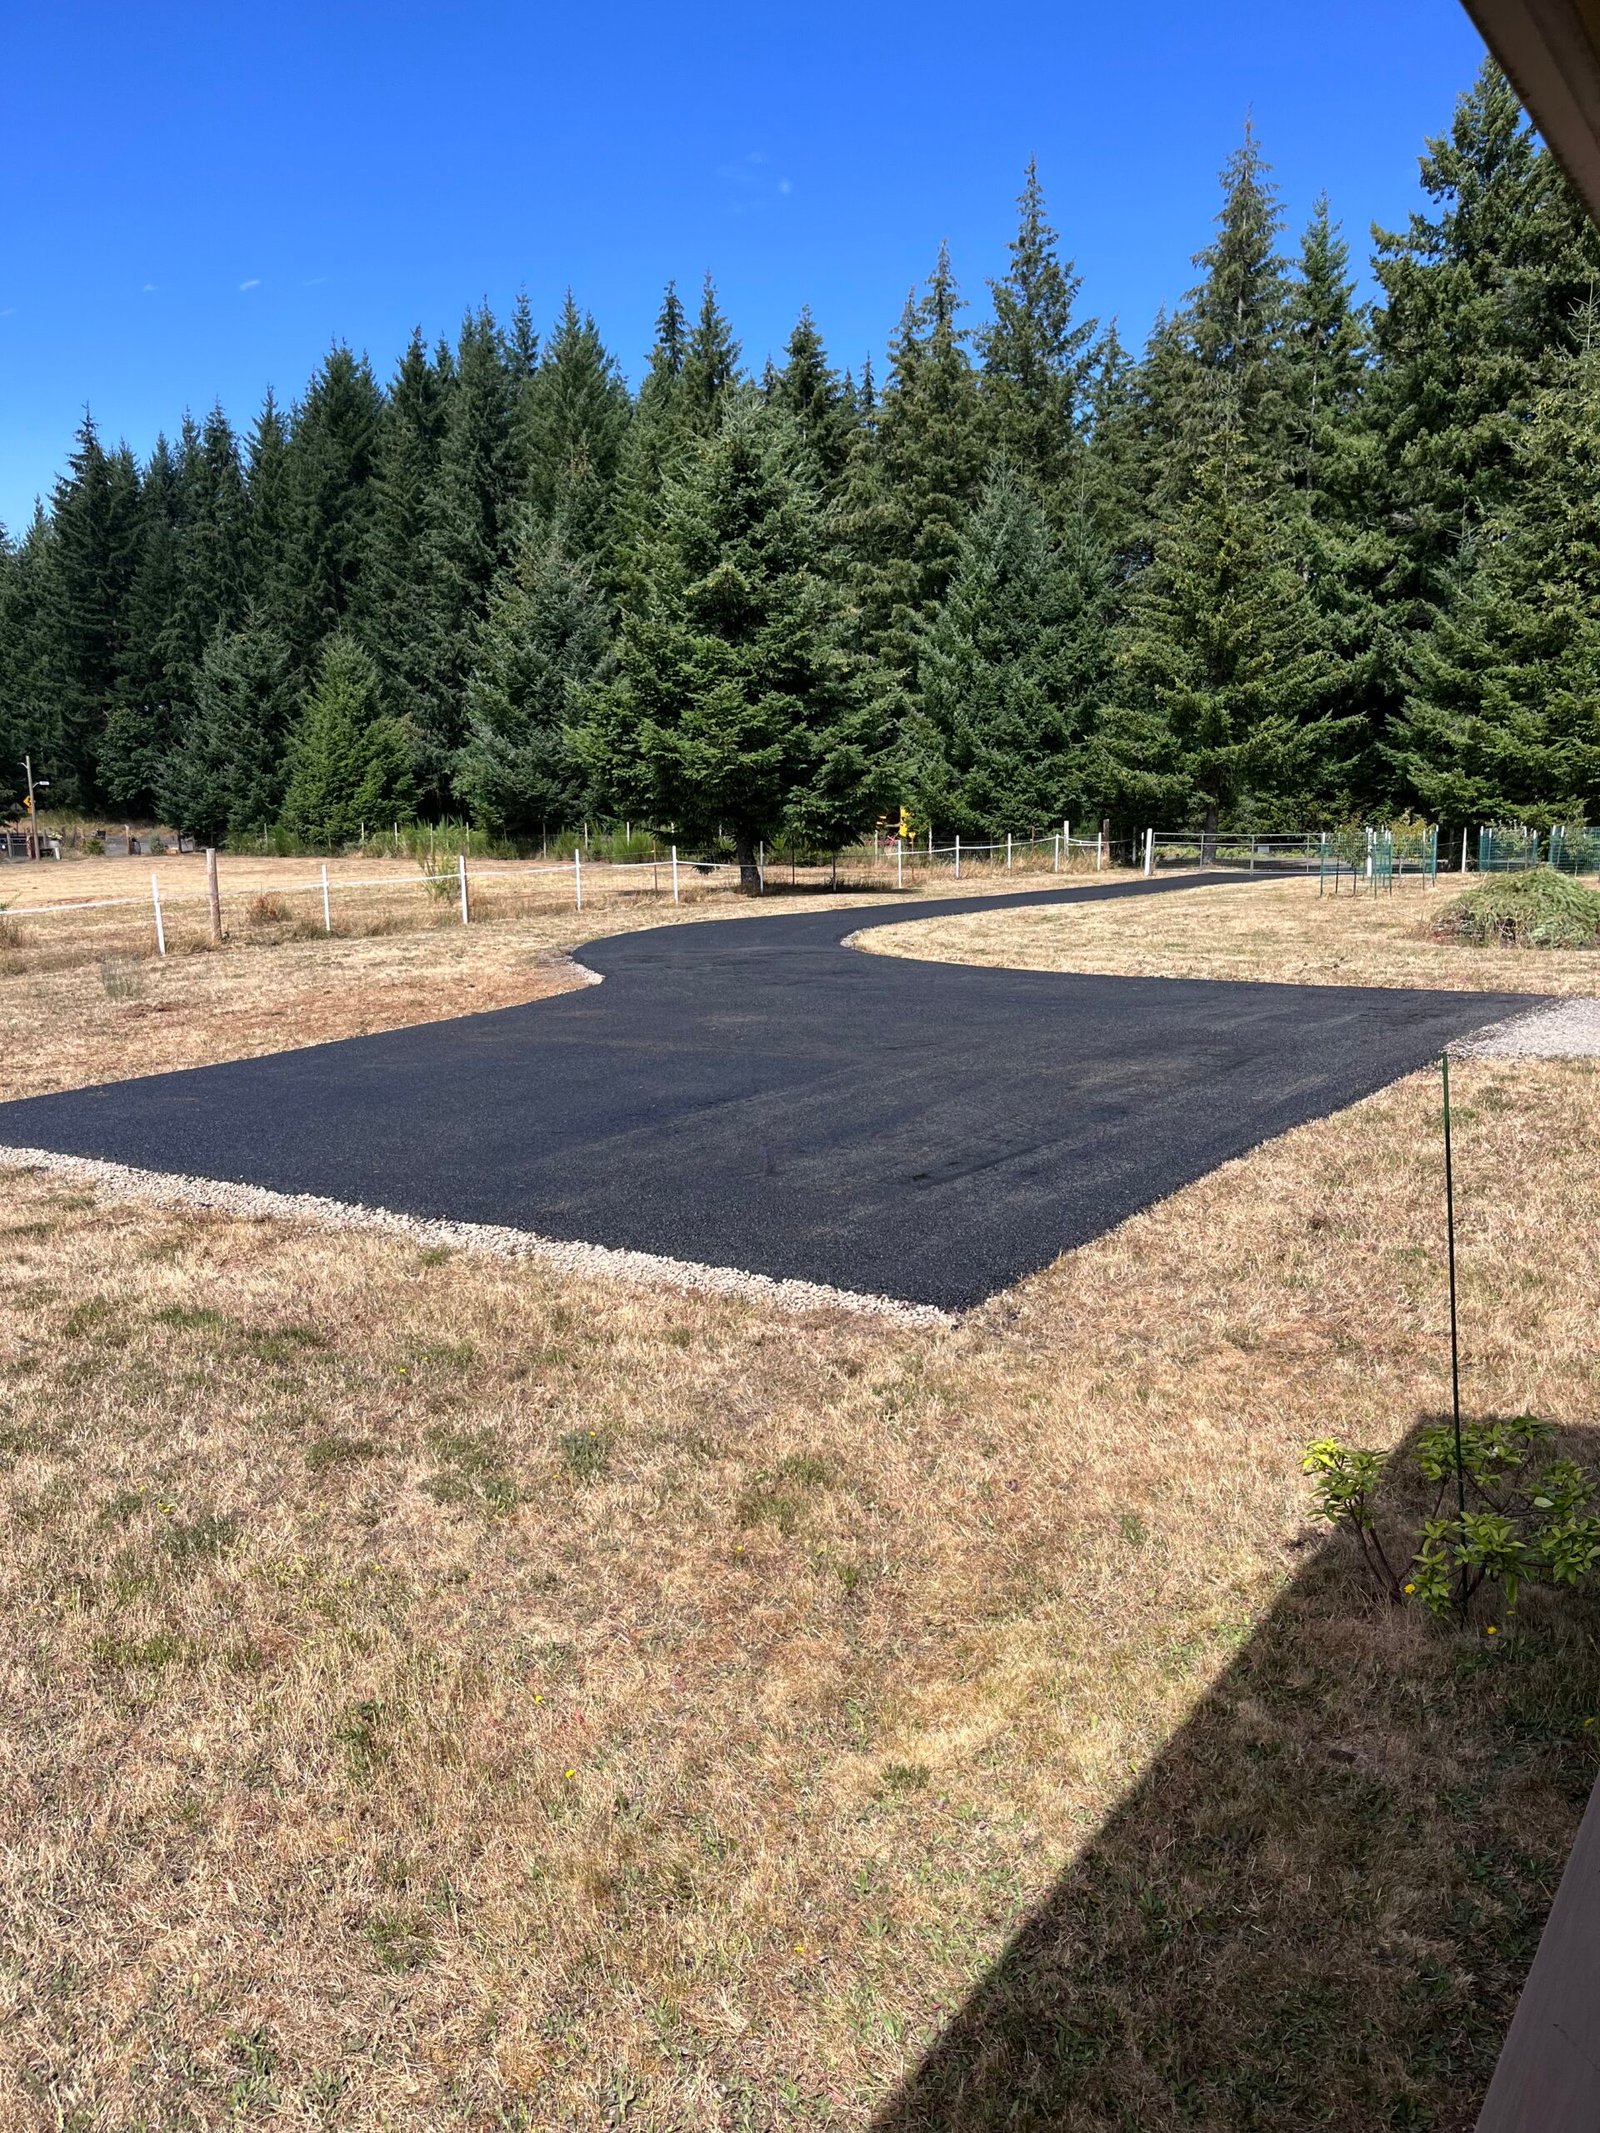
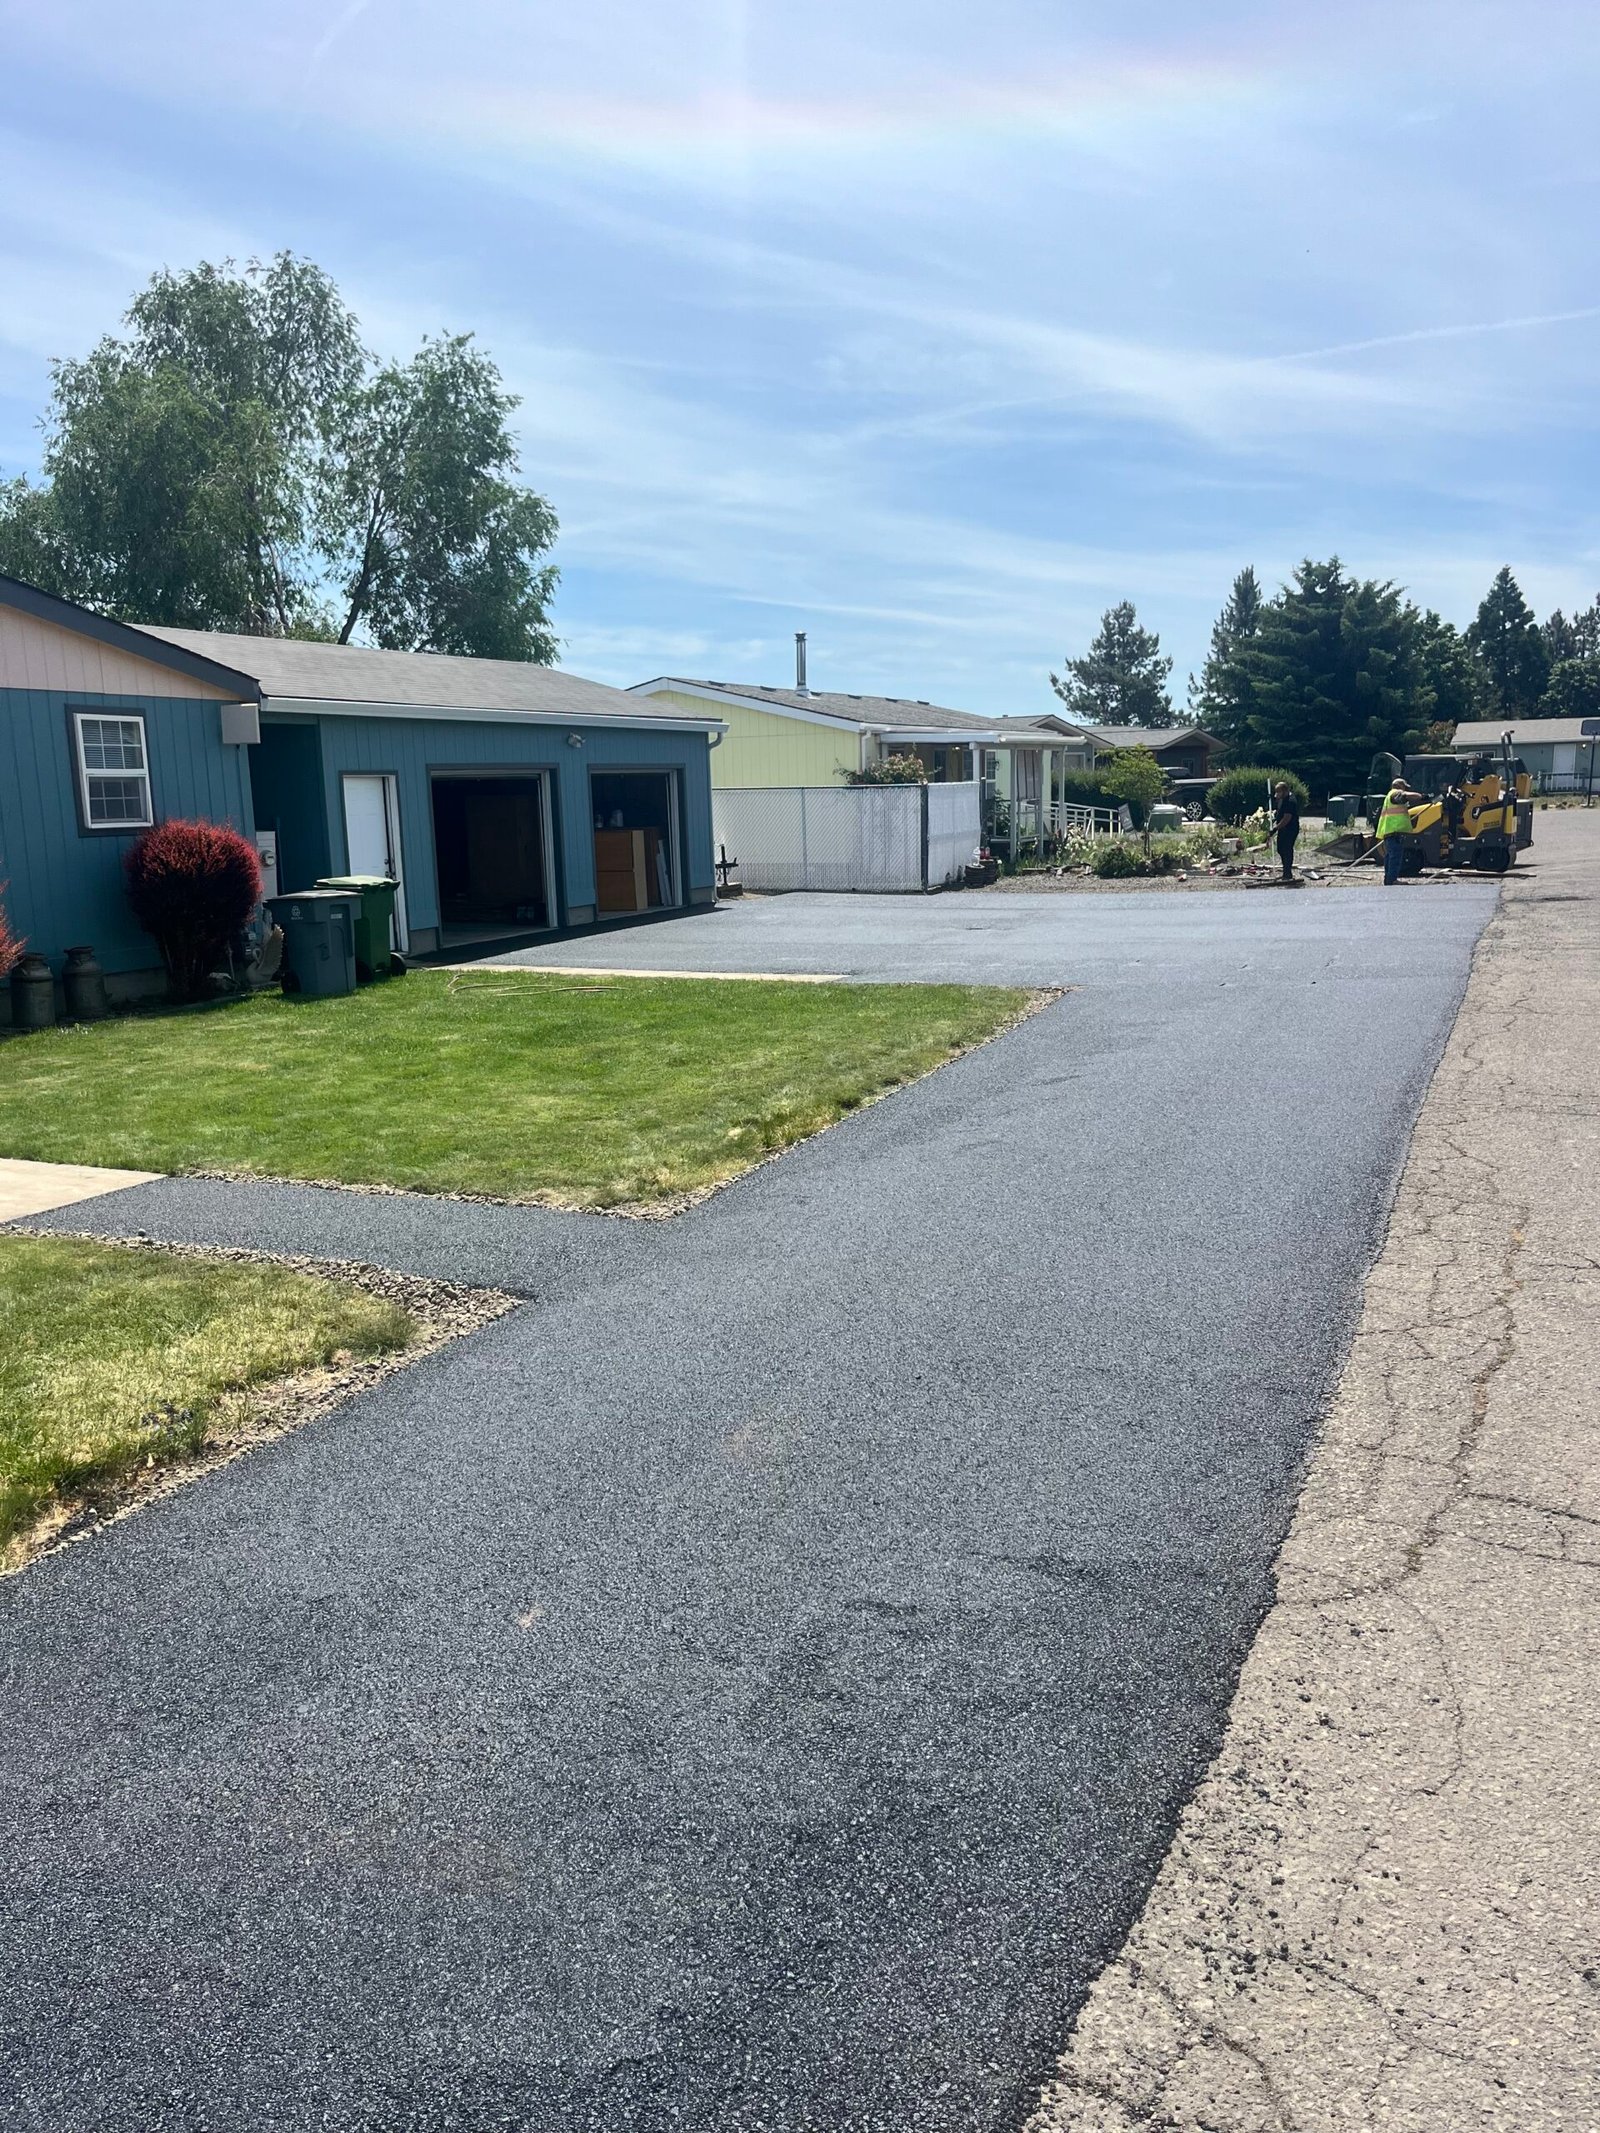
Driveway Paving
Upgrade your home’s curb appeal and functionality with smooth, durable asphalt driveways built to last.
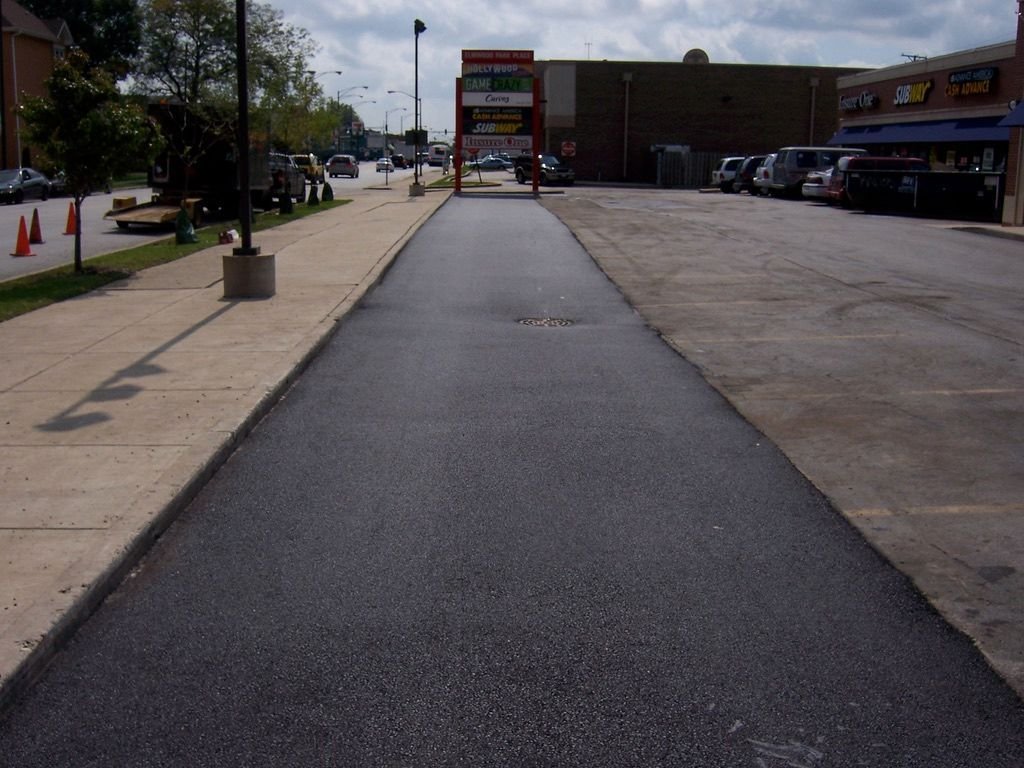
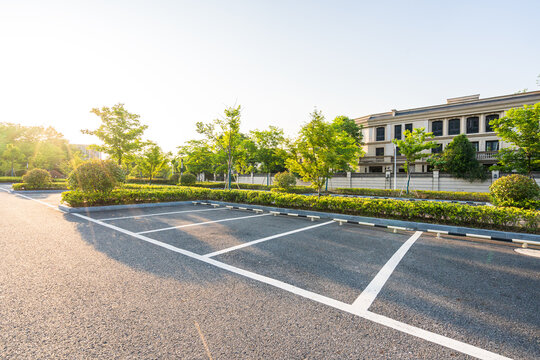
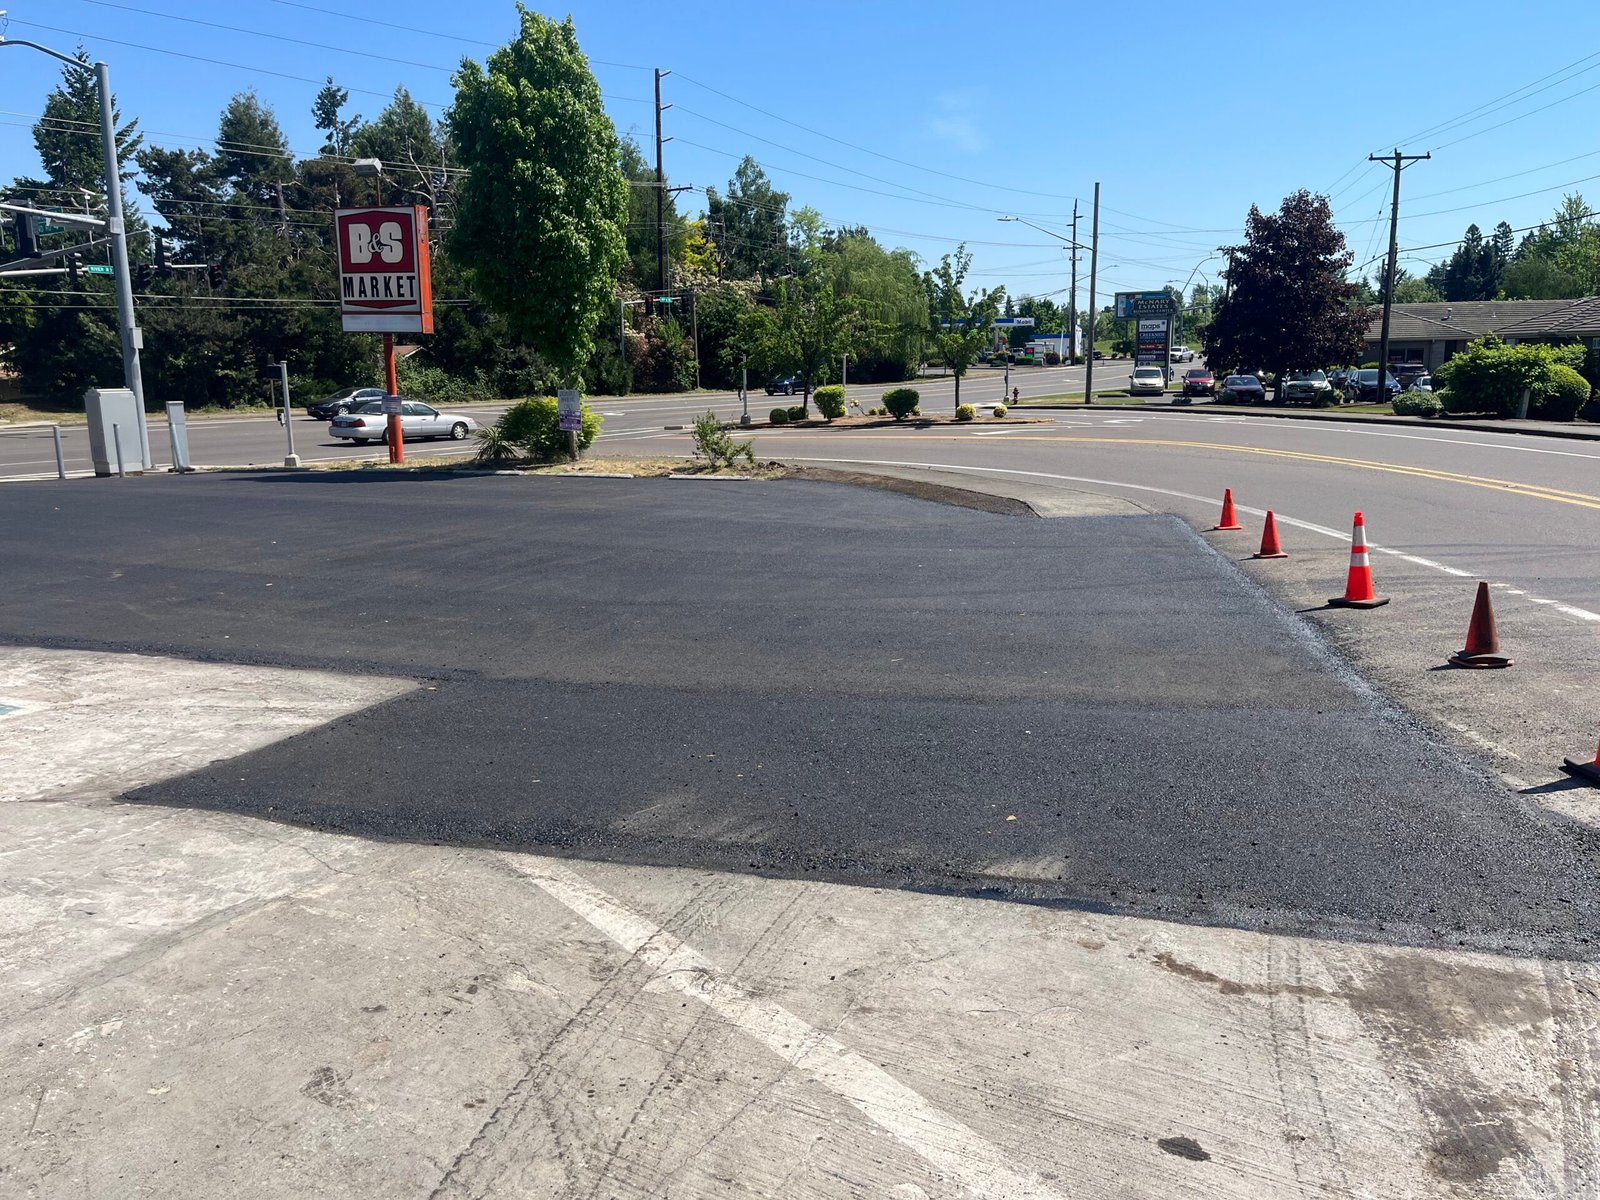
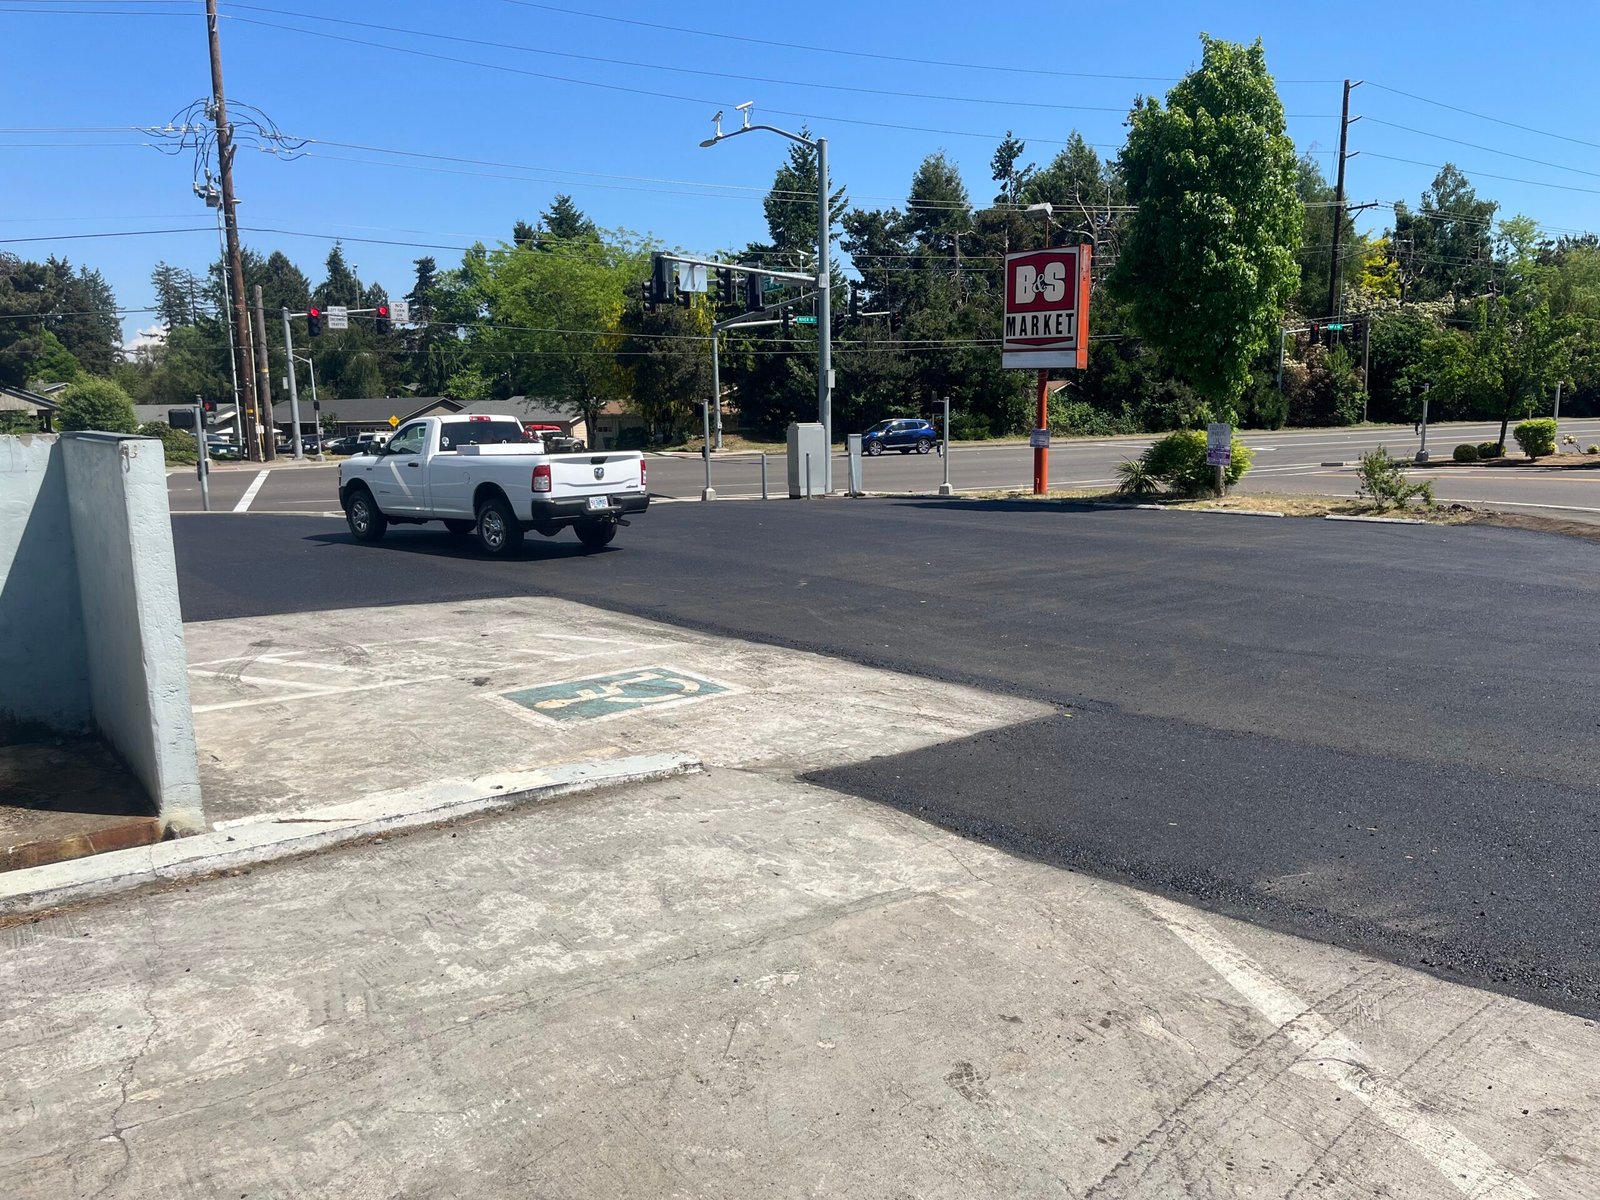
Commercial Parking Lot
From planning and base preparation to smooth asphalt installation, we construct durable, long-lasting parking lots designed for heavy traffic and daily use.
Parking Lot Paving Company
As a trusted parking lot paving company, we design and pave durable lots that withstand daily wear and tear.
Asphalt Seal Coating
Protect your pavement from cracks, moisture, and oxidation with our professional asphalt seal coating service.
Asphalt Milling Contractors
Our skilled asphalt milling contractors remove damaged surfaces to prepare for smooth, even overlays.
Driveway Paving
Enhance your property’s appearance and functionality with expert driveway paving solutions for homes and businesses.


